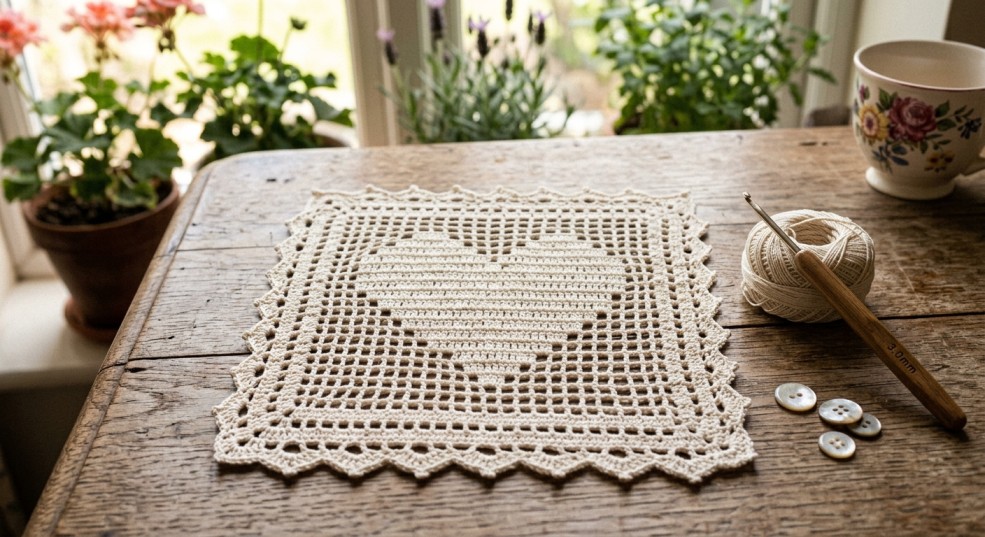
Filet crochet patterns can look complicated at first. A chart filled with empty and solid squares may seem more like a puzzle than a crochet pattern, but once you understand what the squares represent, filet crochet becomes much easier to read.
The good news is that most filet crochet charts are based on a simple idea: open spaces and filled spaces. By combining these two types of blocks, you create pictures, letters, flowers, geometric motifs, and other designs.
Here’s how to read a filet crochet pattern step by step.
What Is a Filet Crochet Chart?
A filet crochet chart is a grid that represents the design in your crochet fabric.
Each square on the chart represents a small section of the pattern. Depending on whether the square is empty or filled, you create either an open mesh or a solid block.
- Empty square = open mesh
- Filled square = solid block
The combination of open and solid blocks creates the image.
However, the exact stitches used to create an open or filled square can vary between patterns, so always check the pattern's stitch key or written instructions before you begin.
Understand the Basic Filet Crochet Grid
Traditional filet crochet is commonly built using double crochet and chain stitches.
- A typical open mesh looks like: double crochet, chain 2 [ dc, ch, ch ]
- A typical solid block is made with: three double crochets [ dc, dc, dc ]
This construction allows the open and solid sections to have approximately the same width.
But this is a general convention, not a universal rule. Some patterns use a different number of chains or different stitches to create the grid.
How to Read a Filet Crochet Chart Row by Row
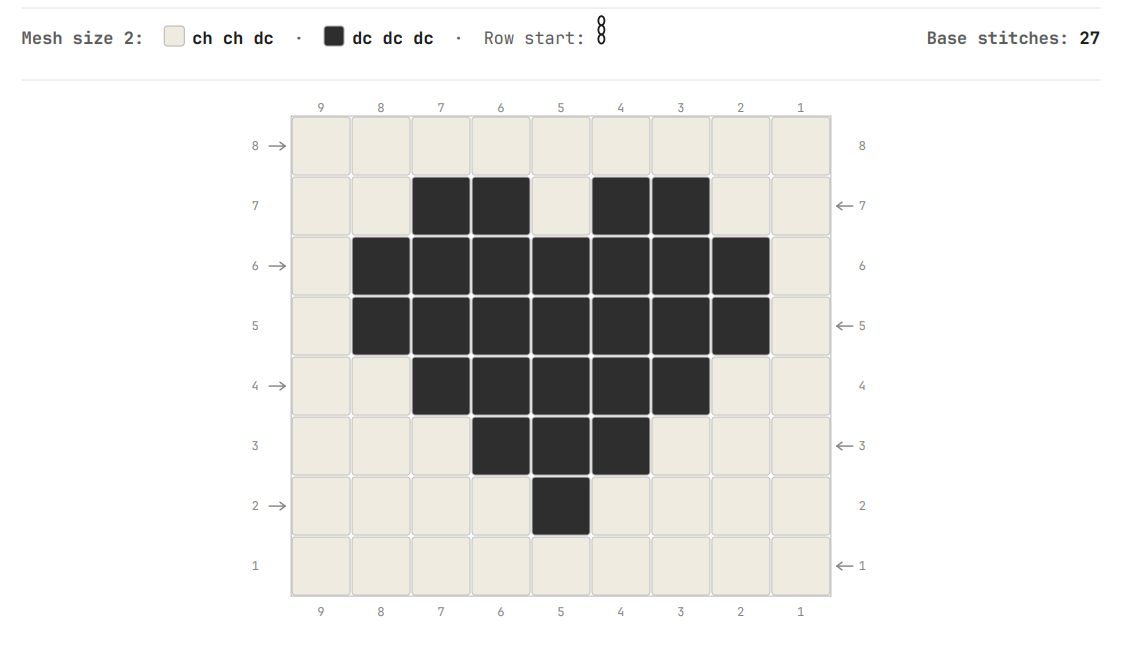
Filet crochet charts are normally worked one row at a time.
Start at the bottom of the chart and work upward.
When you reach the end of a row, turn your work and read the next row in the opposite direction, just as you normally crochet back and forth.
The First Row Is Especially Important
Before you start working from a filet crochet chart, determine how many stitches or chains you need for the foundation chain. This is one of the places where filet crochet can become confusing. The number of stitches needed depends on the number of blocks in the first chart row and on the particular construction used by the designer.
For a traditional filet grid, a common formula is:
Number of blocks × 3 (+1 for the first block's starting edge)
So, for example, a row containing 10 blocks would commonly require:
9 × 3 = 27 stitches (+1 for the first block's starting edge)
However, this formula is only appropriate when the pattern uses the standard three-stitch block structure. Other filet crochet patterns may use different stitch combinations.
Always use the foundation-chain instructions provided with the pattern when they are available.
Design Your Own Filet Crochet Pattern with Mosaicery
Once you've got the hang of reading a filet chart, designing your own is the natural next step — and it's a lot less tedious than plotting one by hand on graph paper. Mosaicery lets you paint your filet design on a digital grid and handles the setup for you, including calculating the correct number of base/foundation stitches for your chart width.
When you're ready to export, you can choose how the chart displays — as Tiles (solid blocks) or Stitches (individual stitch symbols) — and whether to include Word instructions alongside the grid, with settings for stitch counts or cell-letter notation, mesh size, and handedness (left or right). It's free to try during launch.