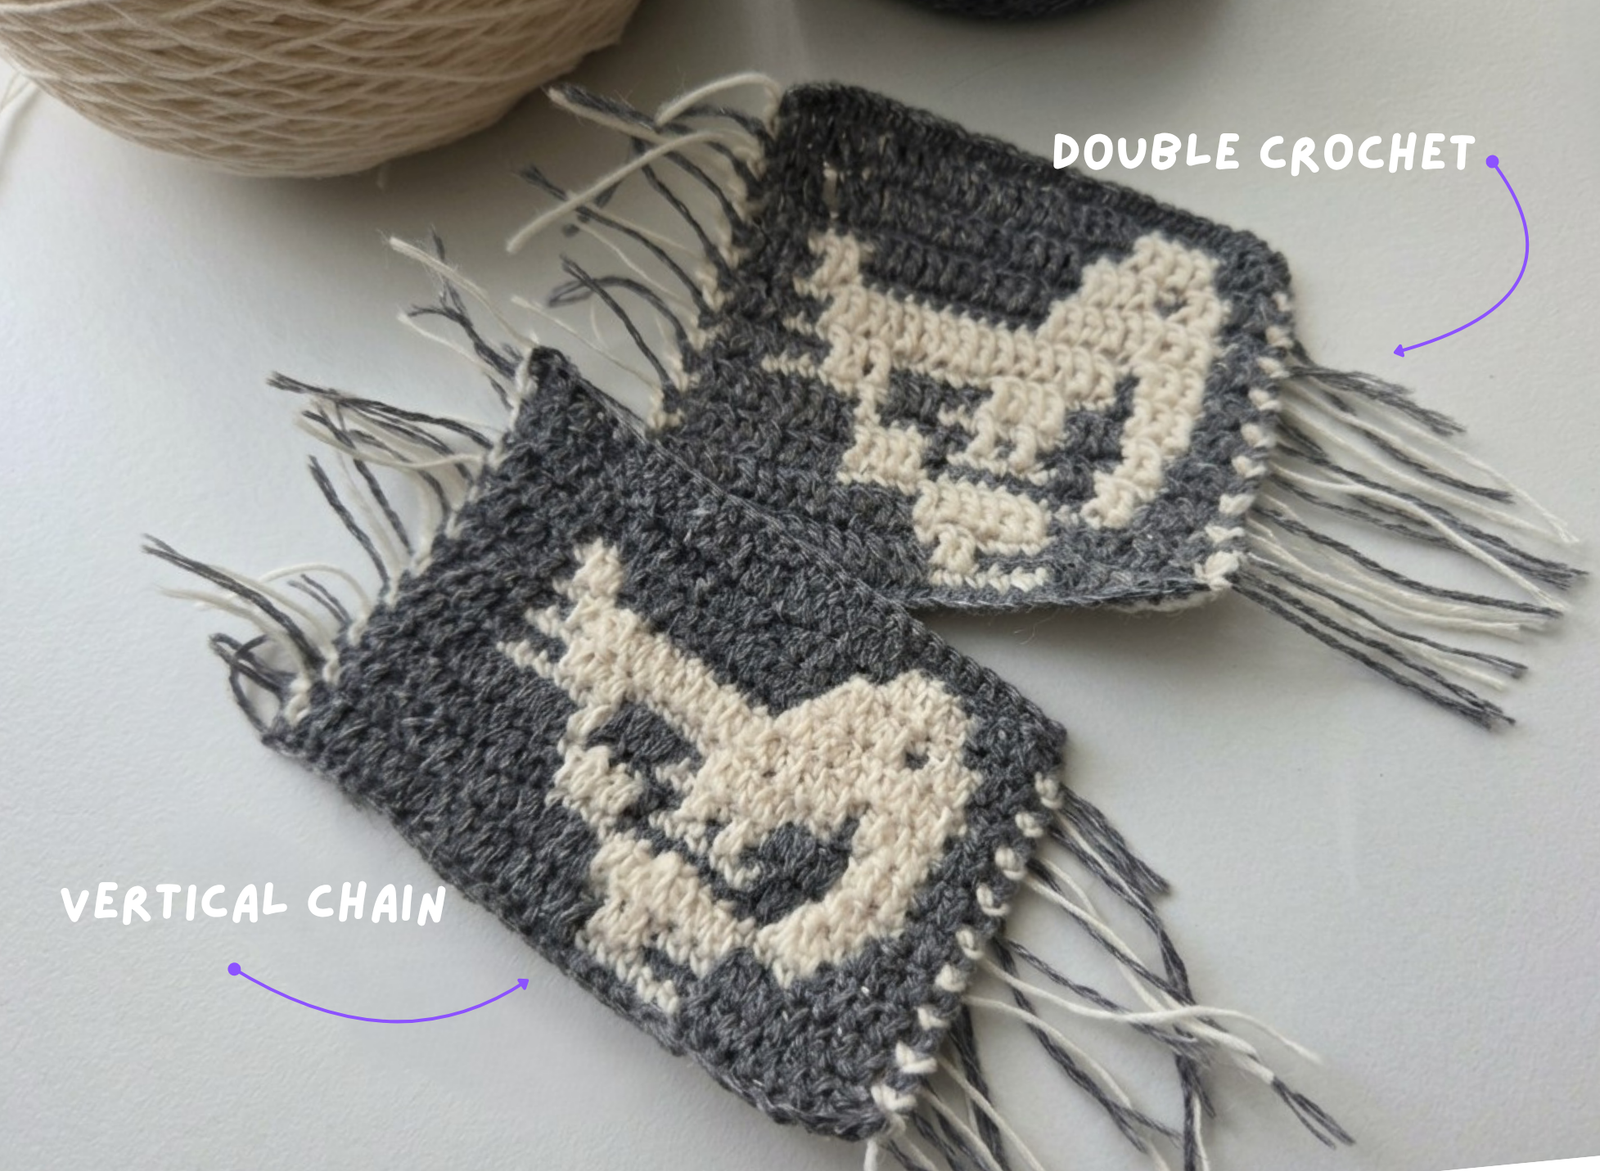
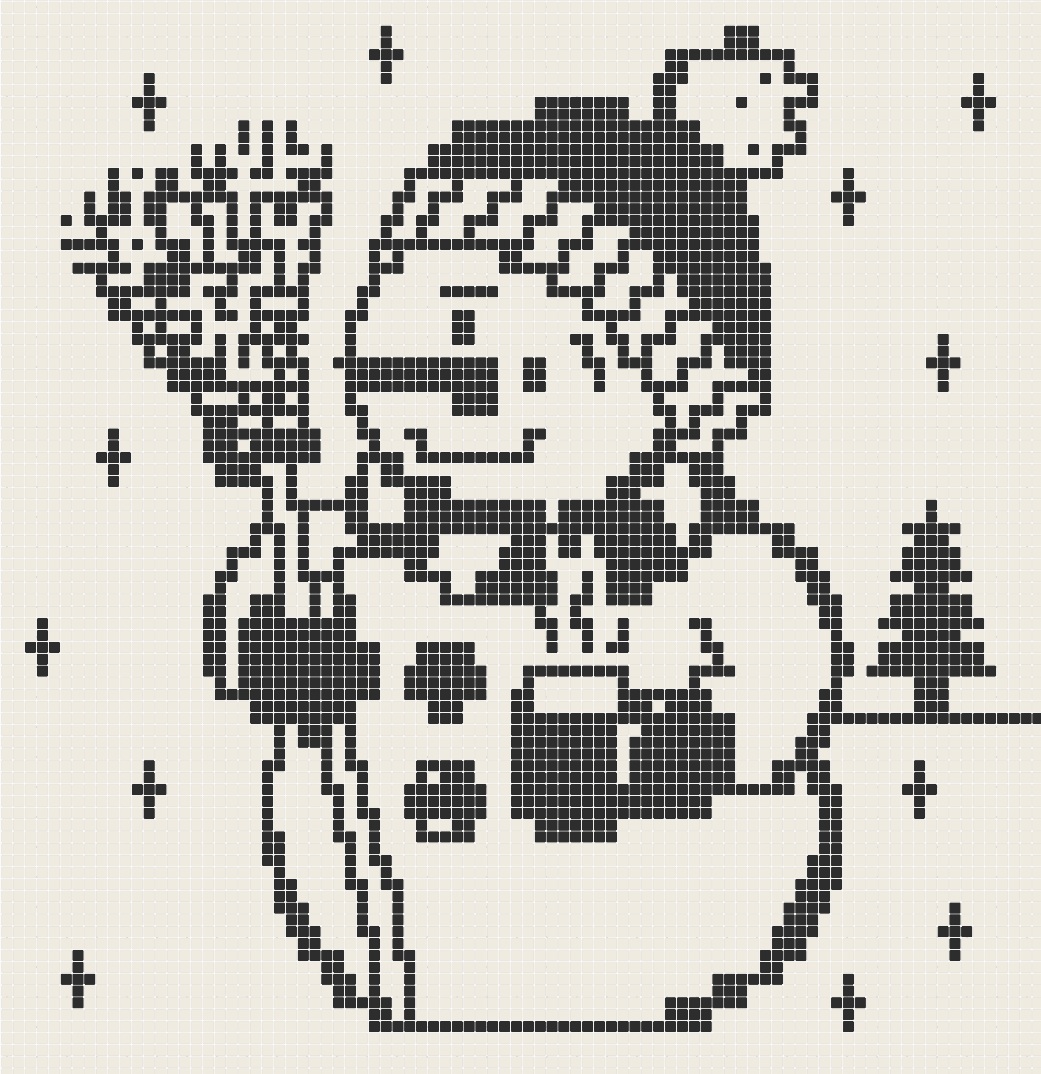
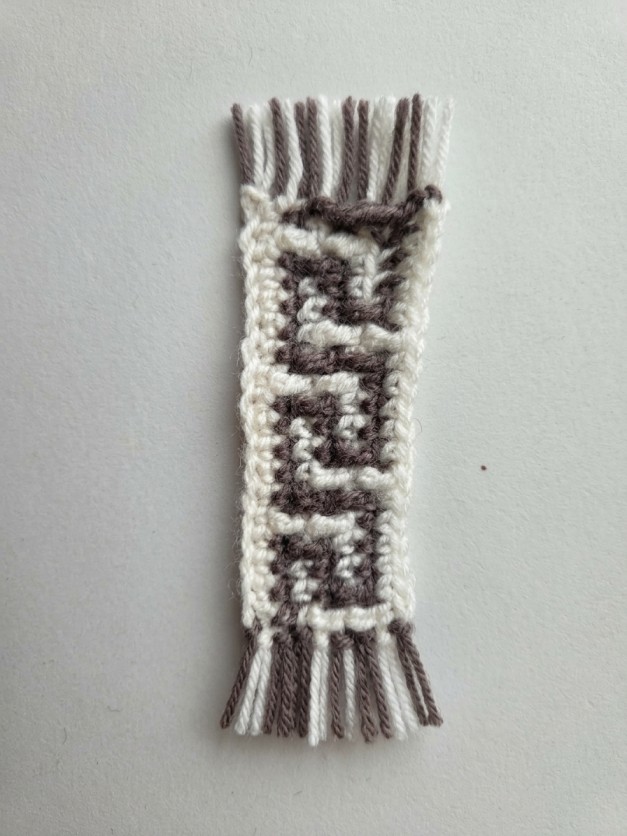
It sounds like a job for experienced designers, but it isn't. With a mosaic crochet pattern generator, you can go from idea to a finished, crochetable chart in an afternoon, even if you've never designed anything before. This guide walks you through the whole process, step by step.
Why mosaic crochet charts are tricky to design by hand
A mosaic crochet chart looks like simple pixel art, but it follows strict rules. You work with two colors, switching every two rows, and the second color shows up through drop stitches worked into the rows below. That means not every picture you draw on a grid can actually be crocheted. Some combinations of cells simply can't be worked.
Designing on graph paper means checking every cell against those rules yourself. Then you count stitches, write out each row in words, and redraw everything if you change your mind. A blanket-sized chart can take days.
A mosaic crochet pattern generator does that checking for you. You draw, and the editor keeps the chart valid as you go. When you're done, it writes the instructions. That's the approach this guide uses.
How to make your own mosaic crochet pattern, step by step
These steps use Mosaicery, a free mosaic crochet pattern editor that runs in your browser. No download and no credit card.
Step 1: Decide what you're making
Start with the finished project, not the picture. A coaster might be 20 × 20 stitches, a pillow 80 × 80, a blanket square 40 × 40. Knowing the size first keeps your design simple enough to read at that scale.
If you already know your gauge, enter it in the gauge planner. It tells you how big the finished piece will be in centimeters or inches, and how many repeats you need for a blanket.
Step 2: Open the mosaic editor and set your grid
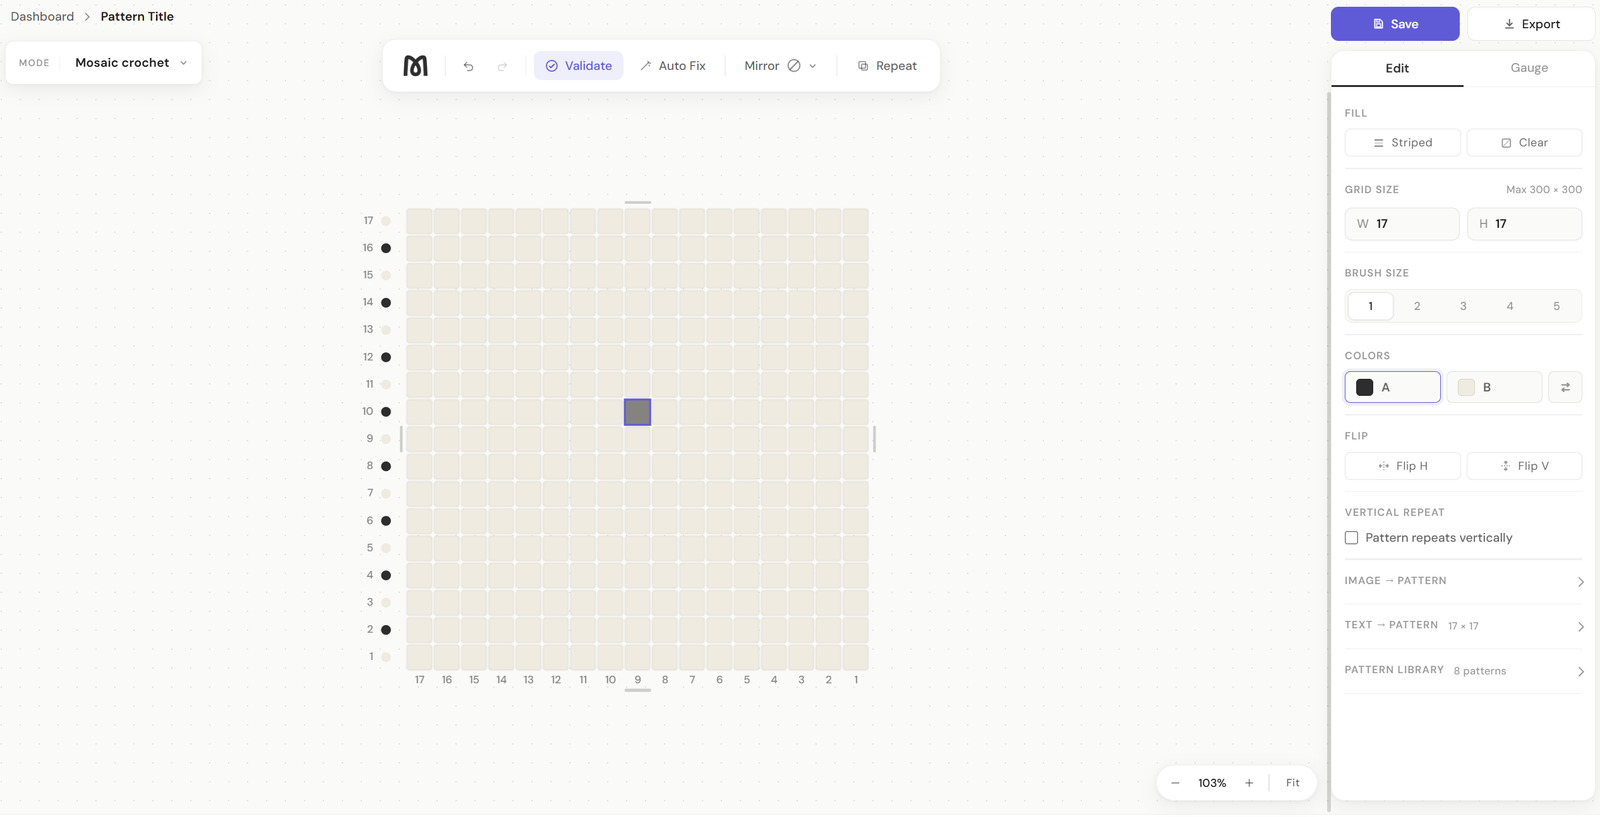
Create a free account and choose the mosaic editor. Set the grid width and height in stitches. You can go up to 300 × 300, but smaller grids are faster to design and to crochet.
Step 3: Choose your starting point
You have three ways to begin:
- Draw from scratch. Best for geometric motifs, borders and simple shapes.
- Turn an image into a pattern. Upload a photo, a drawing or a logo, and the image-to-pattern generator converts it into a chart. Adjust the detail and sharpness until it looks right.
- Type a word. The text-to-pattern tool places letters on the grid, sized to fit. Ideal for names and short words.
Step 4: Draw and refine
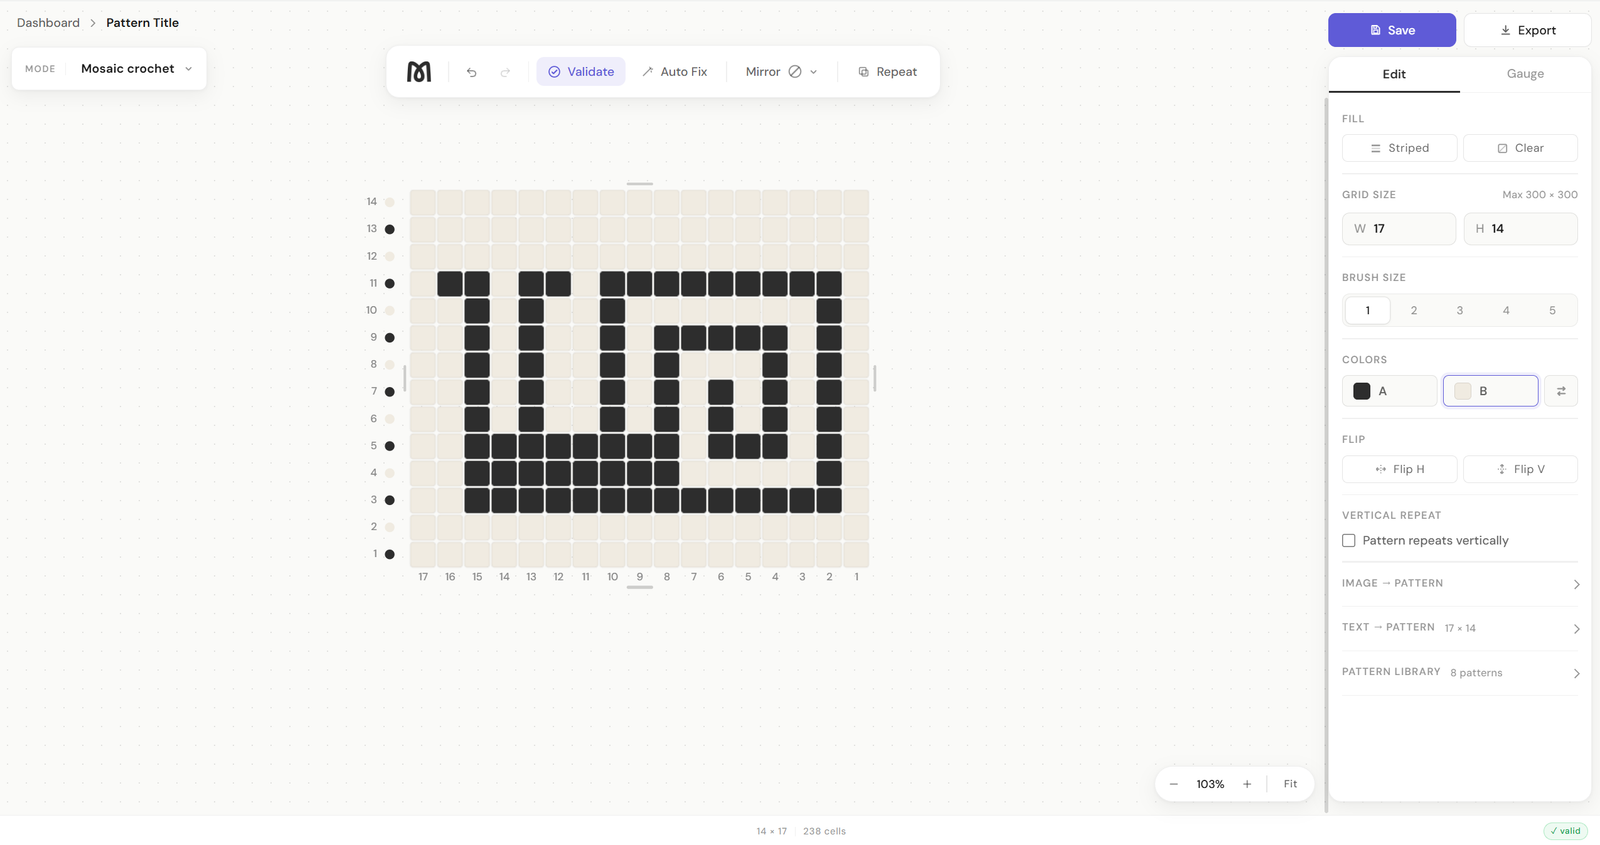
Use the smart brush to paint cells. It comes in five sizes, so you can block out large areas fast and switch to a single cell for details. In mosaic mode, every cell you paint follows mosaic rules automatically.
Two tools save a lot of time here:
- Symmetry: draw half or a quarter of the design and let the editor mirror it. Perfect for snowflakes, mandalas and geometric squares.
- Repeat preview: see your motif tiled 3 × 3 to check that borders and all-over patterns join smoothly.
Step 5: Check the chart
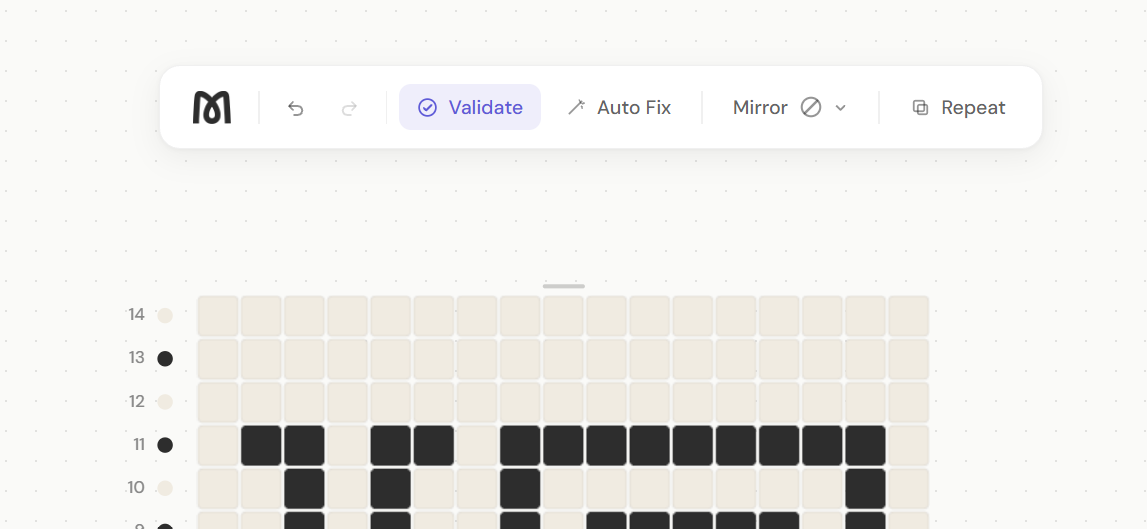
Validation is switched on by default, so the mosaic crochet chart maker highlights any cell that can't be worked as you draw, and one click fixes them. If you turned validation off while sketching, check the toggle and switch it back on before you export. This is the step that saves you from discovering a problem halfway through a blanket.
Step 6: Choose overlay or inset
You only draw the chart once. When you export, choose overlay or inset mosaic, and the generator produces a valid pattern for either technique. Not sure which to pick? Read our guide Overlay or inset? Pick your mosaic in five minutes.
Step 7: Export your pattern or follow it in the tracker
Pick how you want to crochet it:
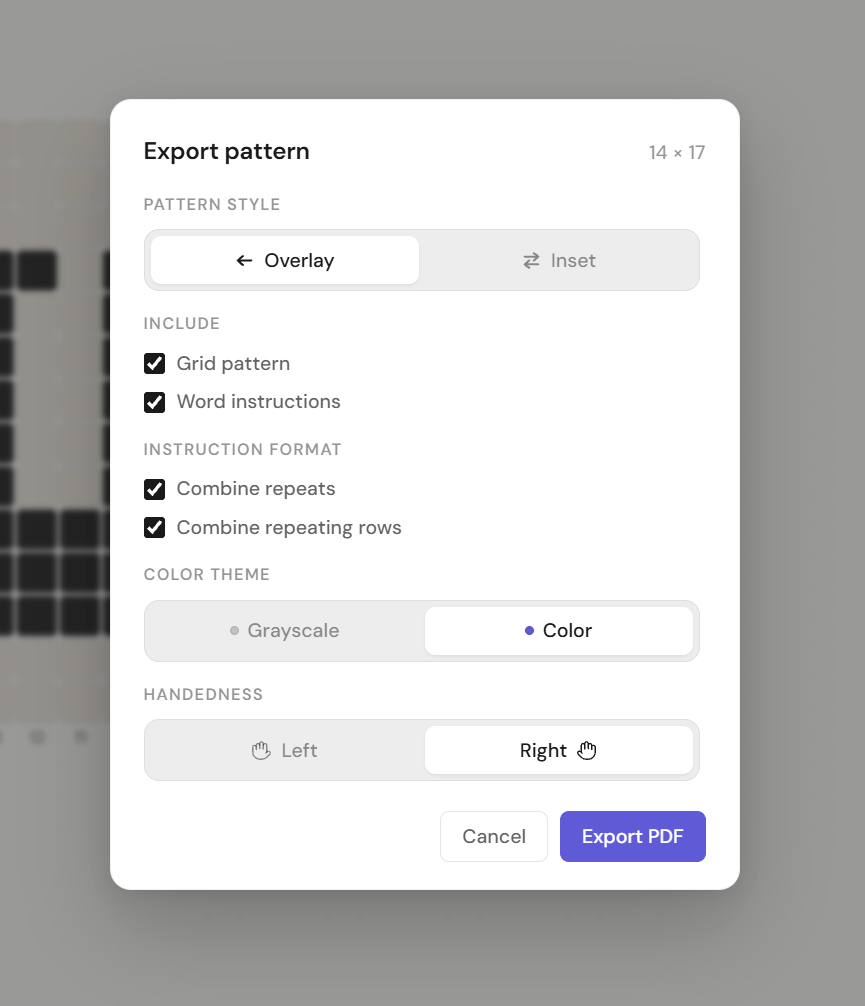
- PDF export: a print-ready chart with a stitch legend, plus optional row-by-row written instructions. There's a left-handed option too.
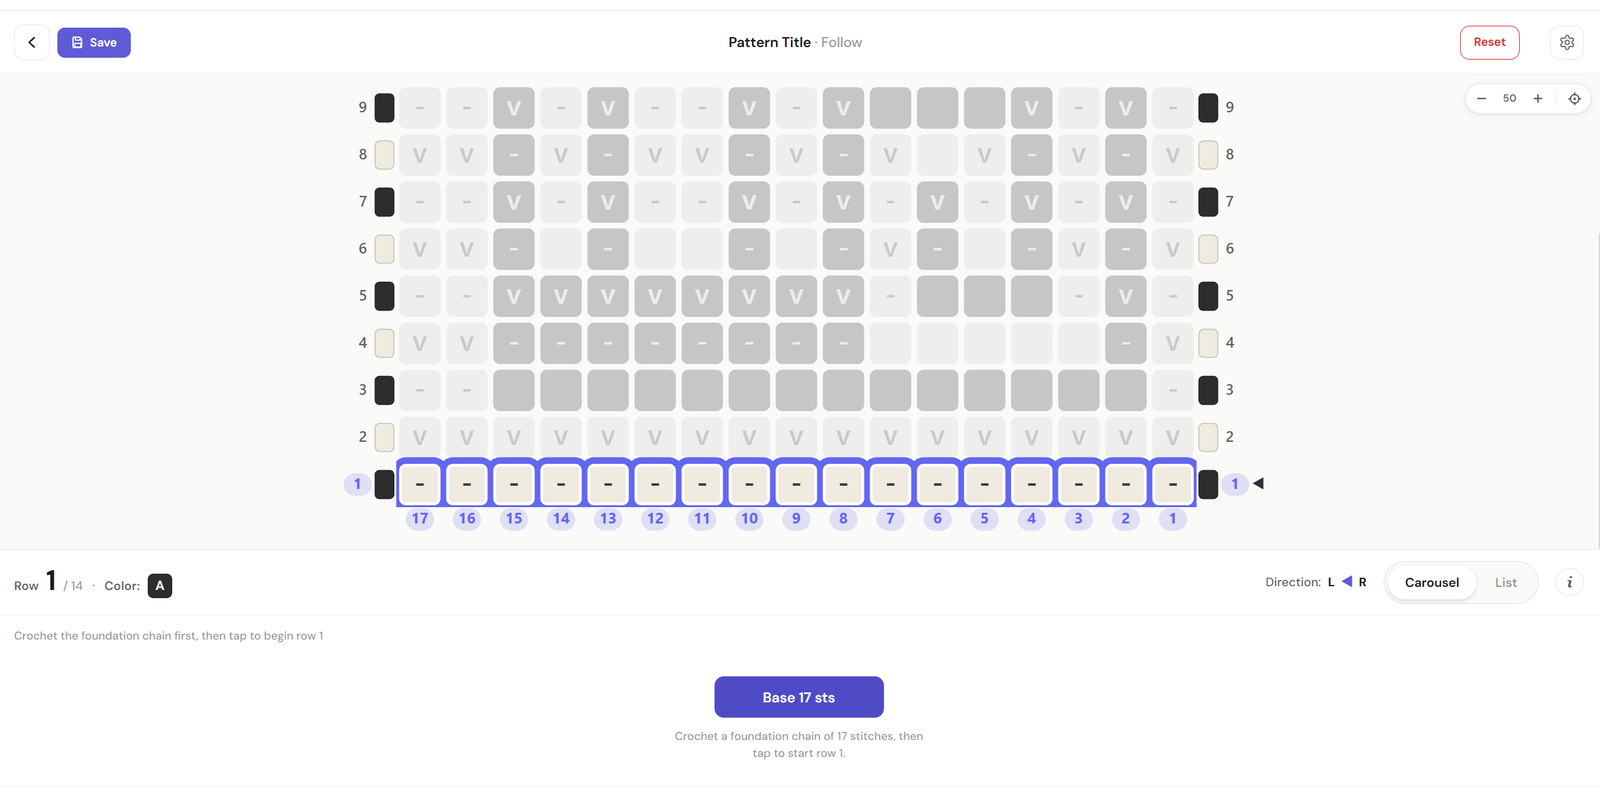
- Pattern tracker: follow the chart row by row on your phone or tablet, tapping to move forward. Your place syncs across devices.
That's it. You've designed your own mosaic crochet pattern.